

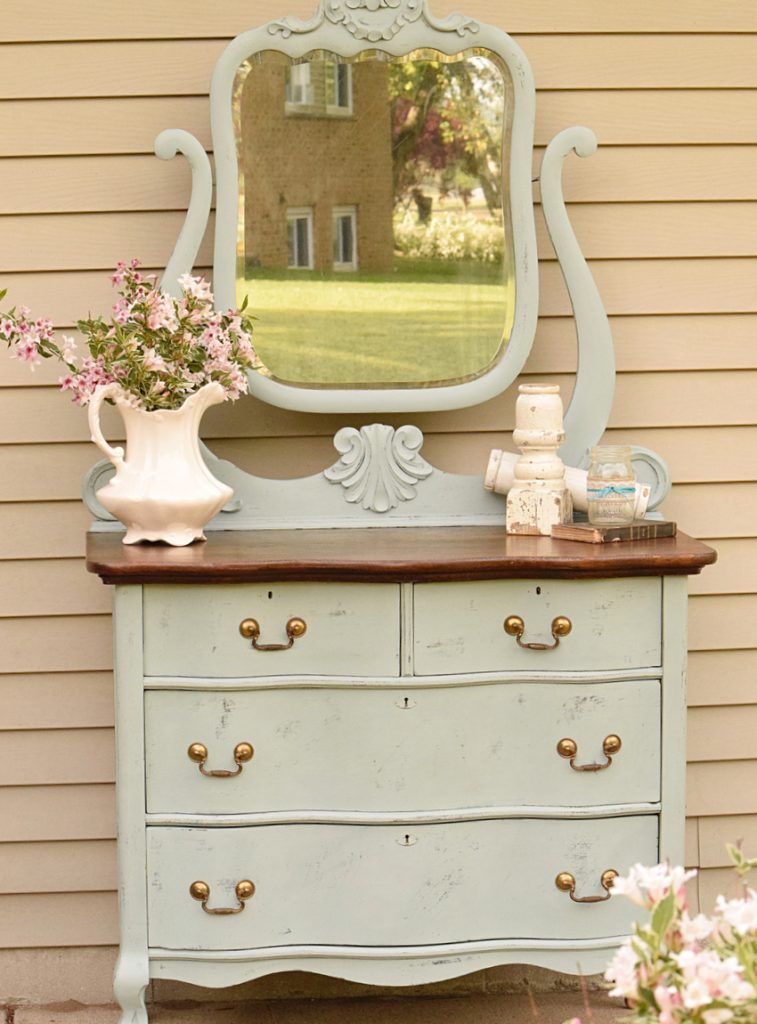
How To Give Paint A Distressed Look
Pitiful furniture is perhaps ane of the almost popular techniques right now, yet so many people don't fully understand what it fifty-fifty is or how to get the look they want. I have had countless people try to explain to me how they desire their furniture painted, nonetheless they didn't know the wording. Well-nigh ninety% of the time, the end result is a distressed slice, merely they had no thought how to tell me that. But after looking at a movie of what they wanted did I know what they truly had in mind. I felt like a post completely dedicated to deplorable furniture would be good, considering I tin can really dig into WHAT it is and HOW to achieve it. Pitiful can exist achieved dissimilar ways, nevertheless the results are very similar.
What is Distressing??
The dictionary definition of the discussion distress is "to afflict with great pain, anxiety, or sorrow; trouble; worry; carp." To be truthful, this is kind of what nosotros are doing to furniture when we distress it. Nosotros are beating it and marring it to arrive "look" older/anile. We are putting it through the ringer, per se. The piece is going through nifty "pain" to get to its accomplished look.
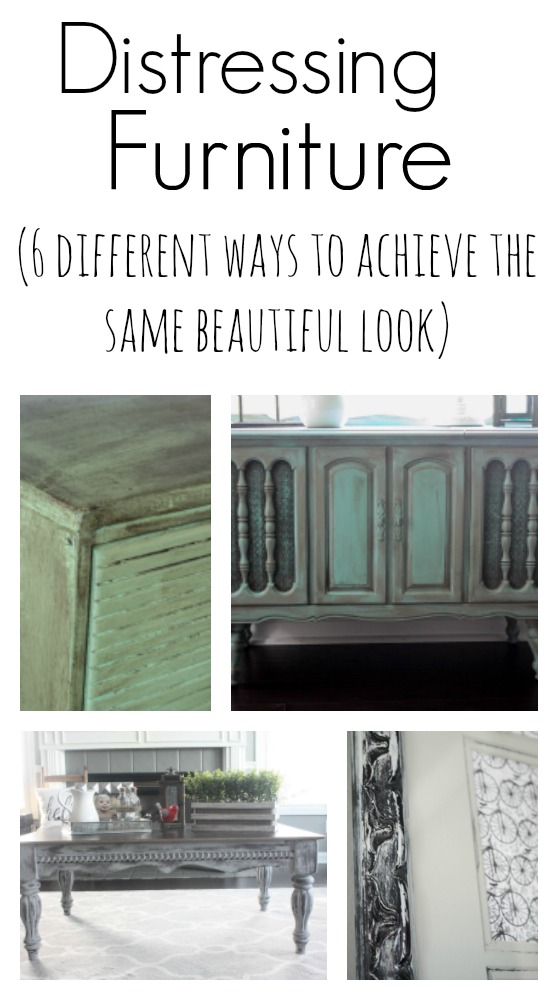
Hither are a few pictures of some pieces that I accept painted that have been "distressed" and how I got that exact look using unlike techniques:
Unlike Distressing Techniques (that I accept used)
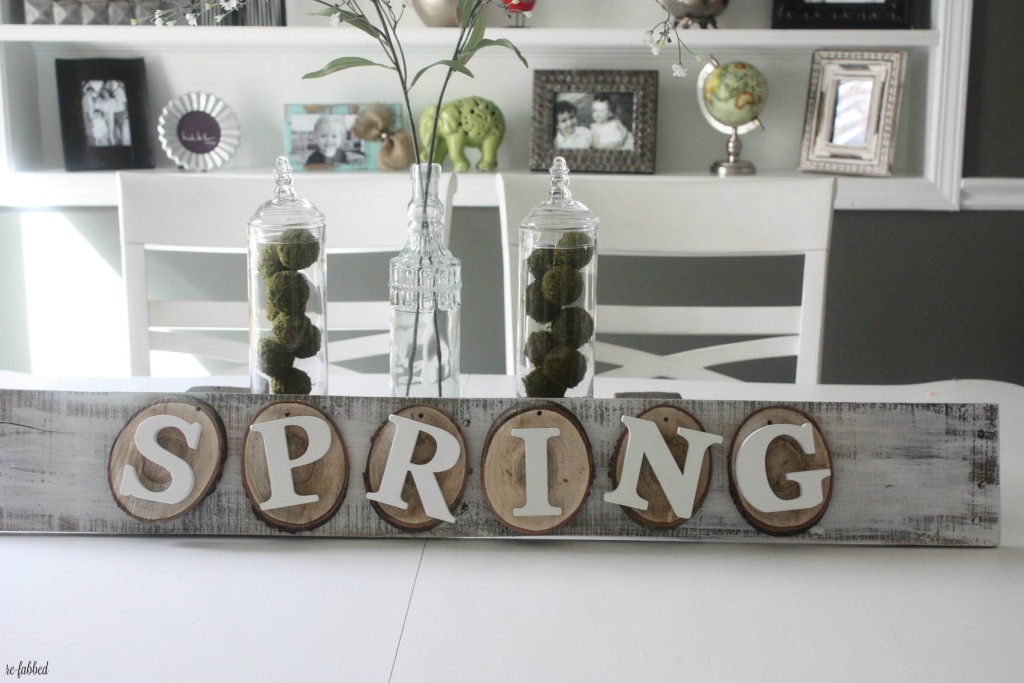
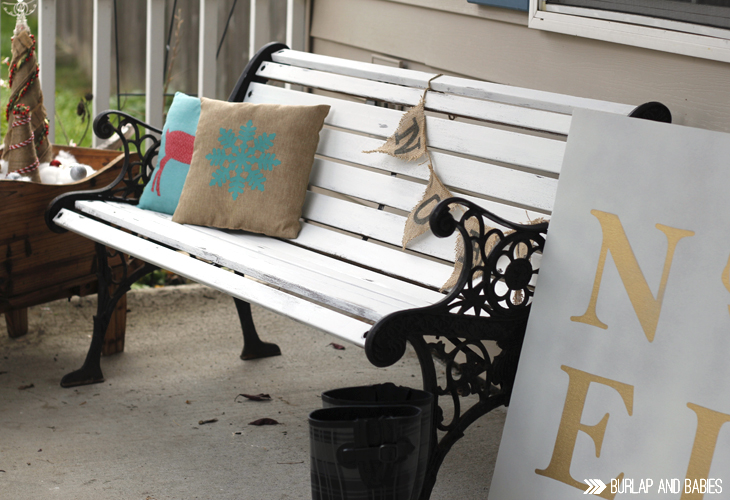
1) Watered Down Paint
This is a little sign I made from pallet woods last Spring. The pallet board was a natural wood, and I but took some white acrylic craft paint and mixed information technology with h2o so that it was very watered down. I then barely dipped my paintbrush into the pigment and went over the board with ane light coat, making sure to non cover it completely. This gave the board a weathered/distressed look that I wanted. This is a very unproblematic technique, and I experience like information technology works all-time when you are working with a piece that has a dark terminate. It looks the most dramatic when y'all are covering a dark cease with a light paint. Be sure to water down your paint and BARELY dip your brush into the pigment and so that y'all do not end upwards with too much paint. I also suggest using the inexpensive little chip brushes for a modest project like this, where y'all practice non want even coverage.
Full postal service for how to make this Jump sign is here!
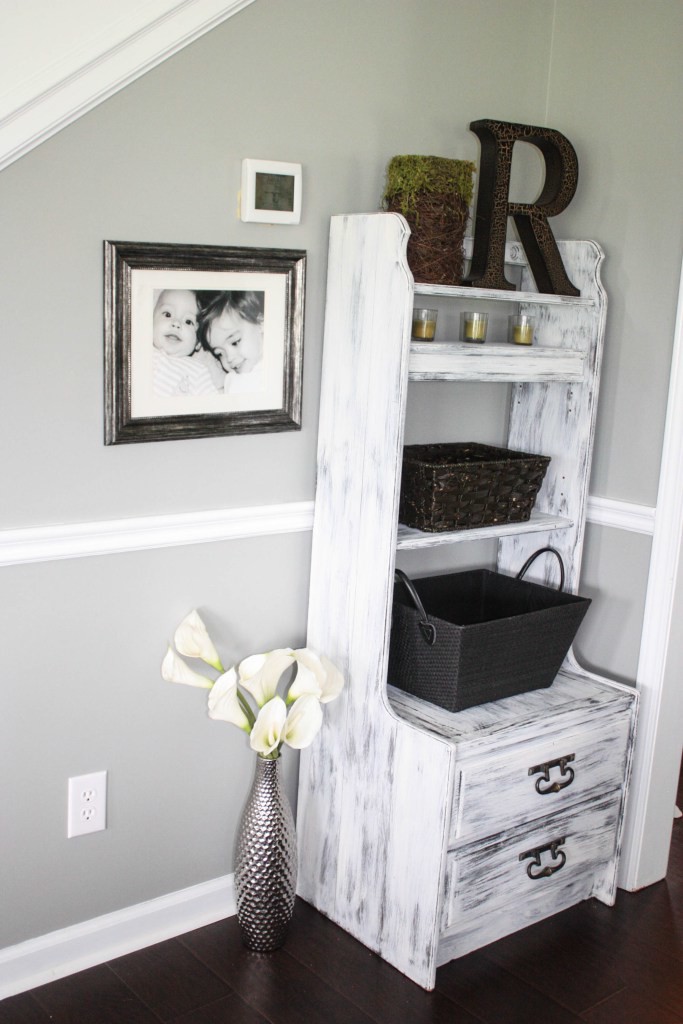
This piece was painted using this same technique. I did NO sanding- just simply brushed over it with my chip brush. You tin see the full makeover Hither.
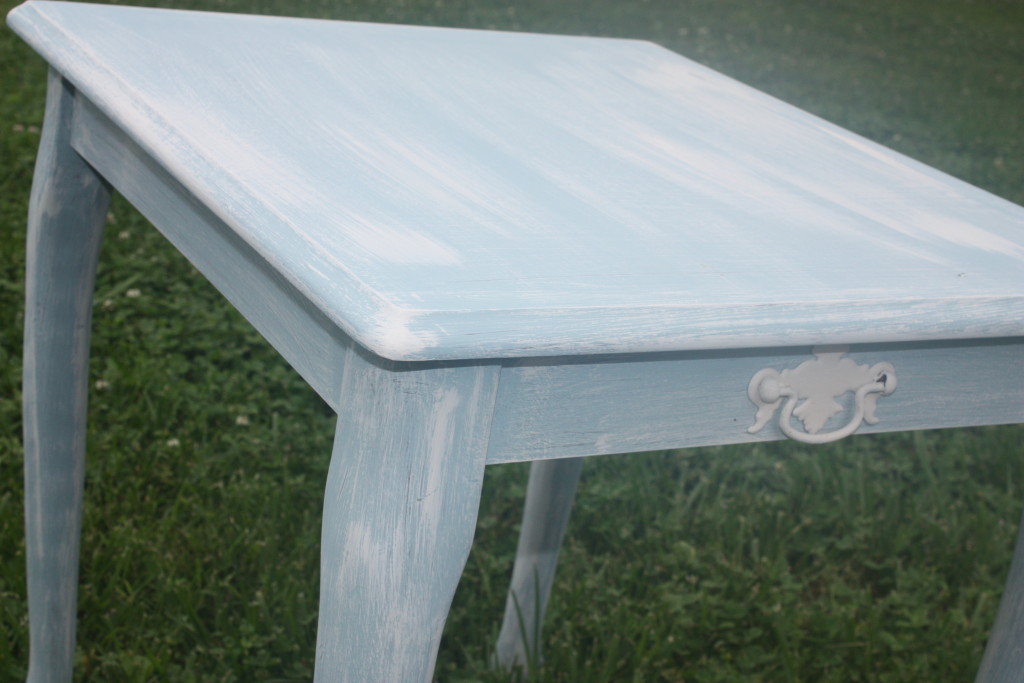
2) Layering Paint
One very easy way to distress is past merely layering paint. The technique is very similar to the watered downwards paint technique, but instead of using the original finish every bit the main coat, you will paint your entire slice with the color that you desire to show through, then you lot will go over information technology (once fully dried) with another color, using the exact same technique as the watered down version. You will gently dip your brush and permit every bit much pigment to show through every bit you desire. When you are done, your piece will have a distressed look, using pigment alone.
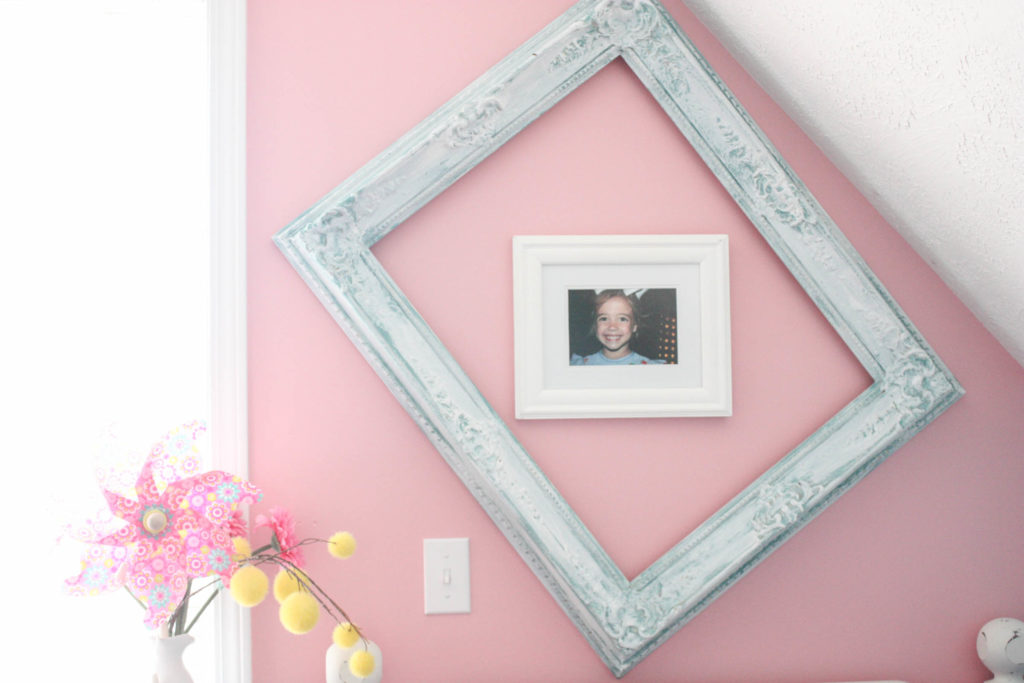
I used this same technique on this gorgeous austerity shop frame! LOVE how information technology turned out. Y'all should run across the Before motion picture.
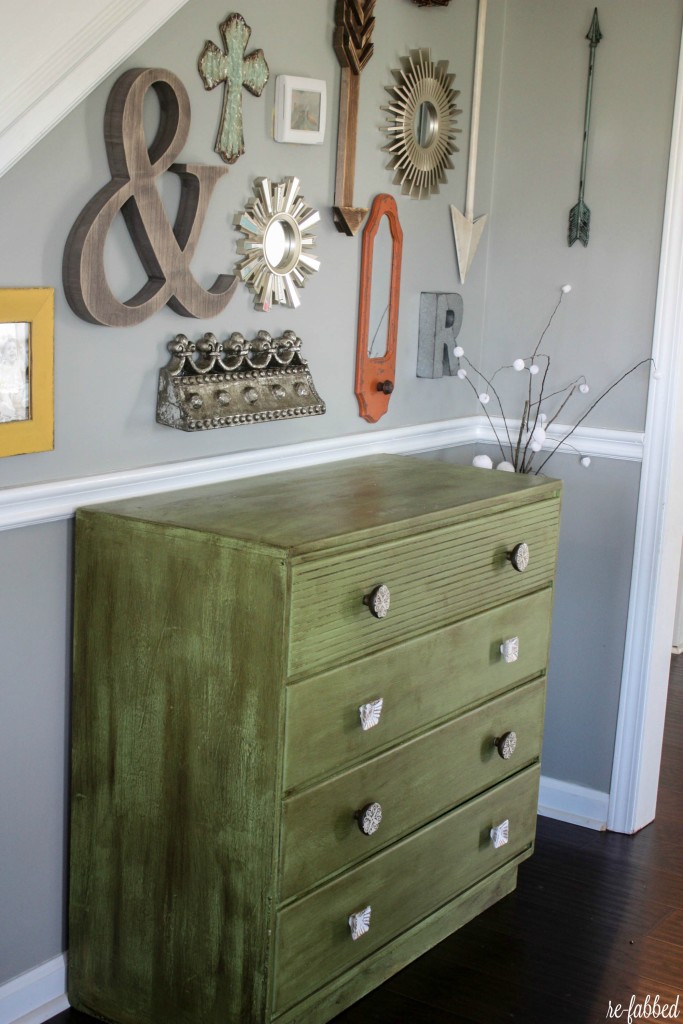
3) Pitiful with Dark Wax
This is one of my favorite methods of distressing because information technology tends to have the near dramatic finish upshot, and I beloved some dramatic makeovers!
There are LOTS of tutorials on how to use dark wax, and I will link to some of those at the stop of this post as well, for even further information, just I have to be honest, I don't do things the way nigh people do! (Who would accept e'er idea that??)
I want to share with you how I apply dark wax, fifty-fifty though it is different from a lot of other people'due south techniques. I have used this way for a long time, and I have e'er loved the end issue and the feel of the pieces when I am finished, so I feel proficient about sharing this with you lot. When I am painting a piece that I want to utilise night wax on, I always paint the piece with a color that I practice non mind altering in the stop. I say that because when using dark wax with this technique, your colour Will be contradistinct. It will be darker and have a much different look when the wax is practical. Yous can avoid the color change more by using clear wax Before the nighttime wax and so that the nighttime wax does non completely penetrate the original paint. It acts as a barrier, I gauge you could say. I like the majorly altered look, and then I always use the nighttime wax directly on the paint (when painting my OWN furniture–if painting for others, I do whatever they desire, patently!).
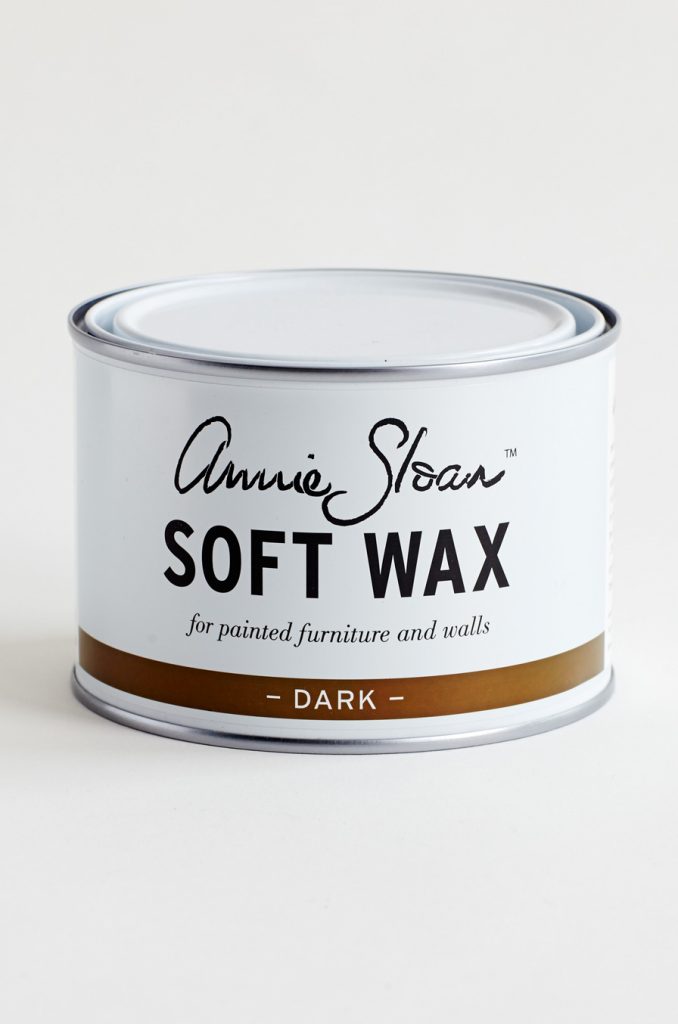
I use Annie Sloan's Night Wax. I have had the same tin FOREVER (similar iv years) and still have over one-half a can. A piffling goes a looooong way. (non an affiliate link!)
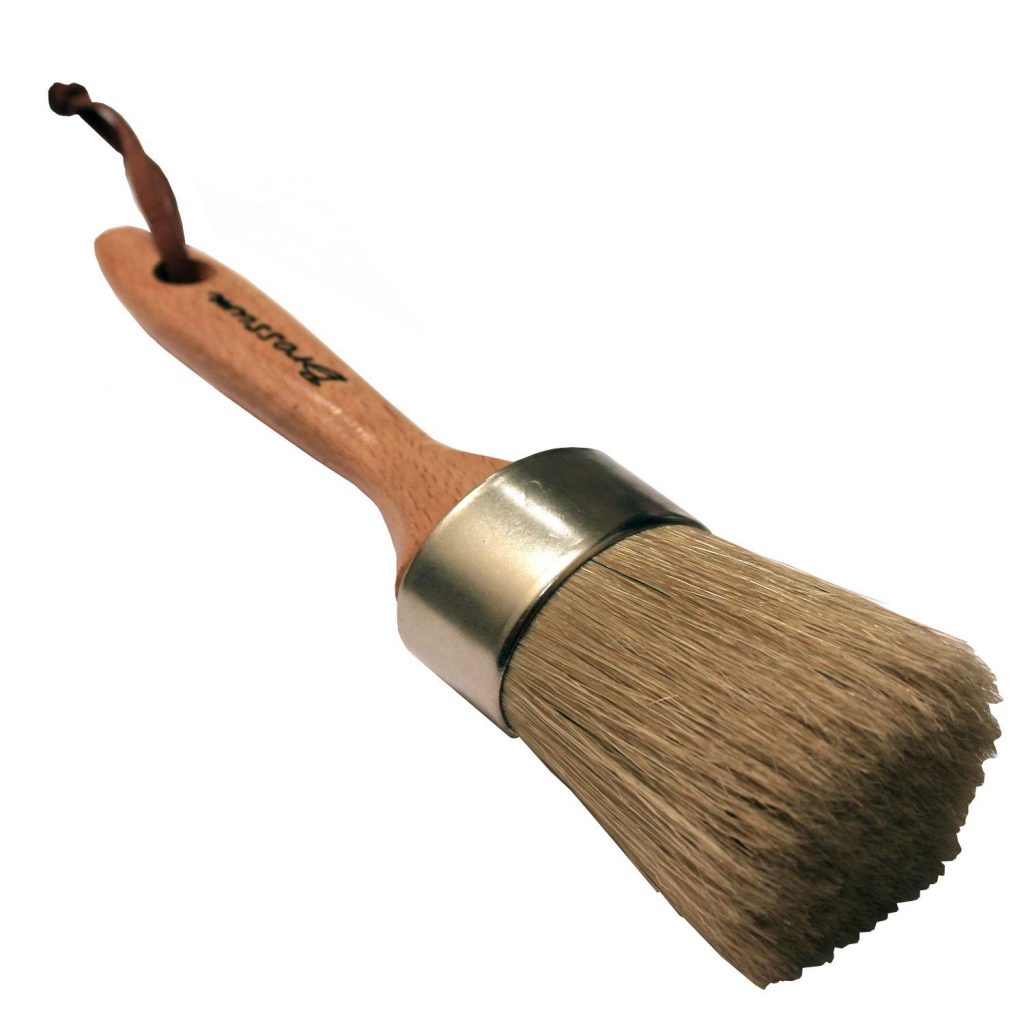
And for waxing of whatever kind, this is the BEST castor to take. I do not feel that you accept to accept whatever certain proper name make of this brush, but the brush is very important in getting into the grooves and holding the wax. This kind has natural bristles and works great for waxing and for painting in general. You can buy this brush here on Amazon.
Then, at present that you know what kind of wax and brush I use, I want to share HOW I obtain the distressed look.
Outset, pigment your furniture in your desired color. Chalky paint works all-time, in my opinion, with dark waxing.
Later on your pigment has completely dried (overnight), you can start applying your dark wax to your slice.
You volition dip your brush into the wax (BARELY- trust me, information technology does non have much at all!) and showtime rubbing it all over the piece, in sections. After you have applied to a section, accept an old rag and wipe it off. Proceed doing that on the unabridged piece. When it is completely covered, make certain that all of it looks like yous want. I then take a light sanding block or small piece of sanding paper with low-cal-medium grit and sand down the edges slightly to finish out the look.
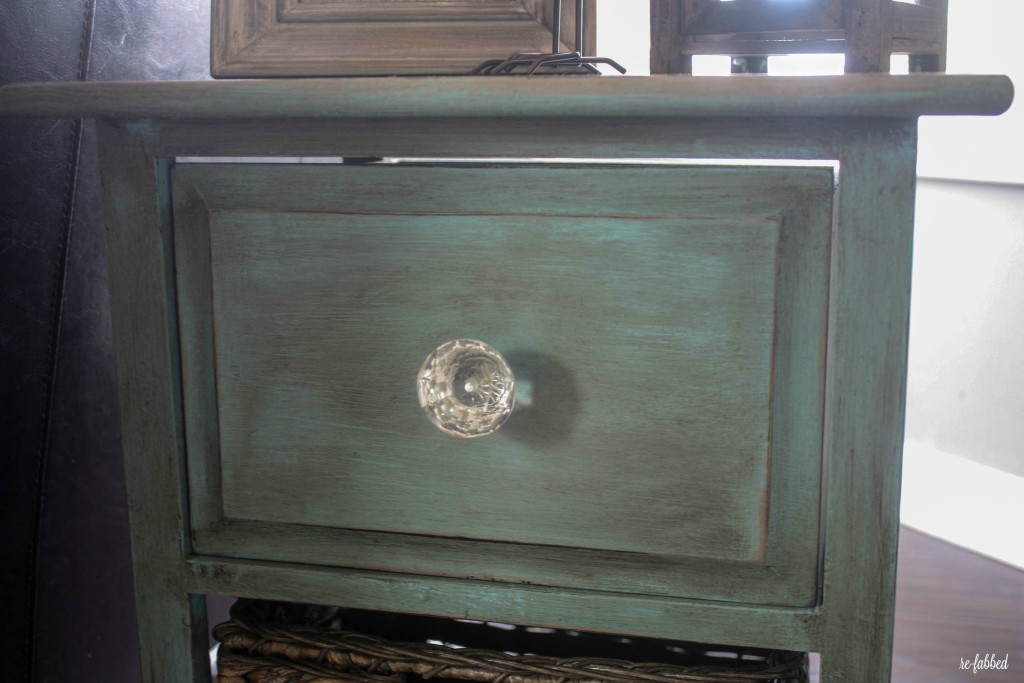
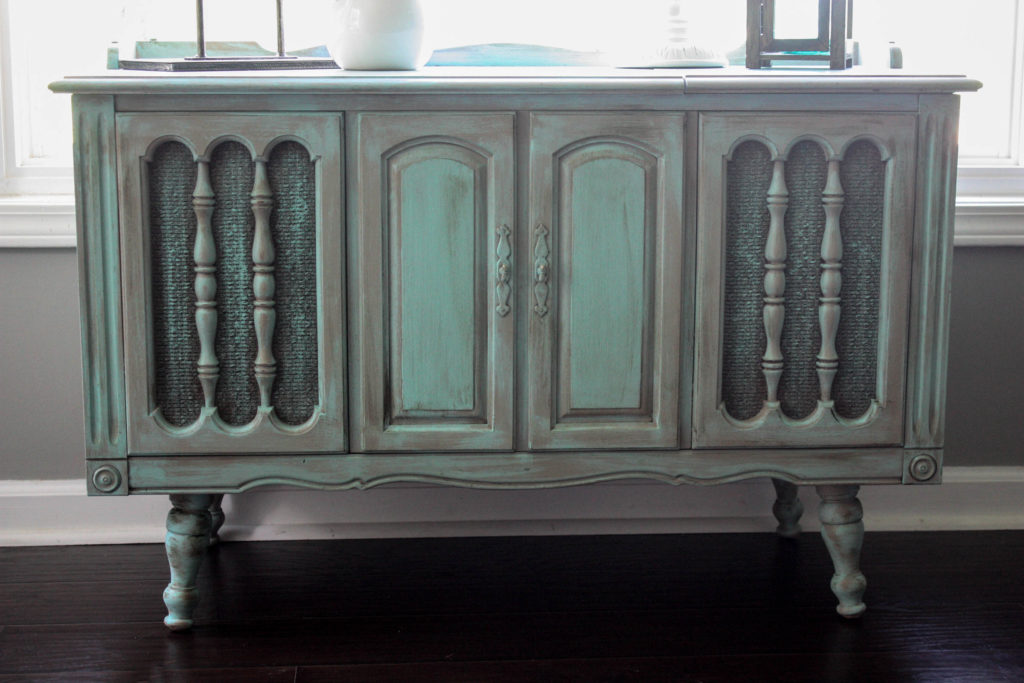
I did all of these pieces with this technique: Click on the postal service to see full details.
Fred's Side Table Makeover Mail service
1960's Radio Cabinet Makeover
Yellow Breast Makeover
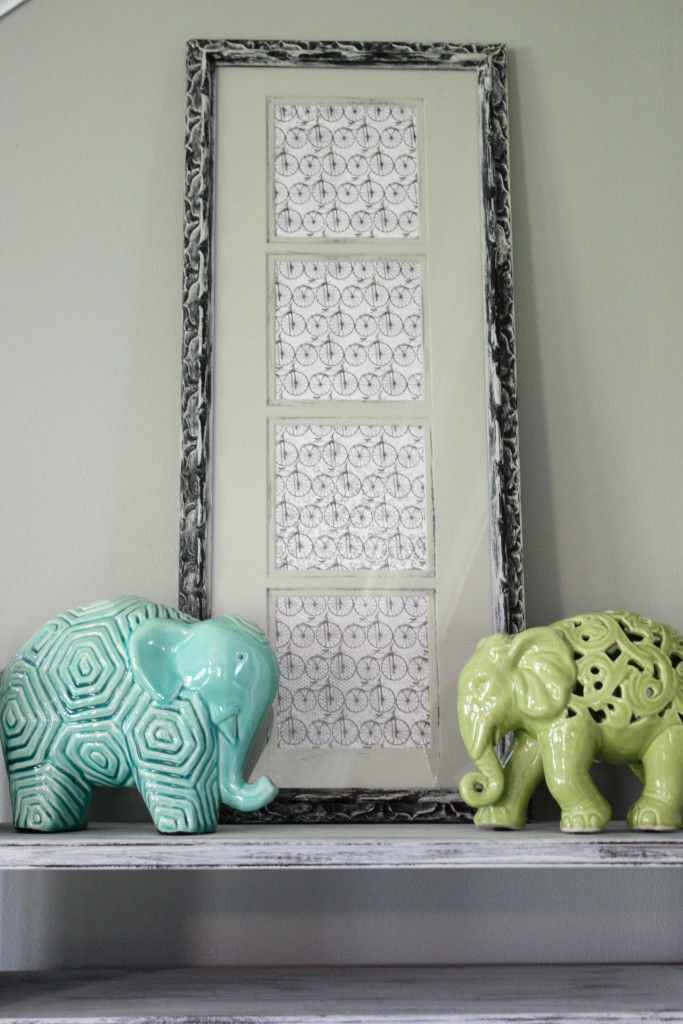
4) Vaseline Sorry
This is a fun and easy technique that I dearest to do for pieces that accept a bit of texture and groove. To do this technique, merely put some Vaseline on your fingertip and rub information technology on the places that you practice NOT desire pigment to adhere. You can paint the piece beforehand to have a sure color showing through, or you can use the existing color of your slice, if you lot like it.
In this example, I had a obviously black frame with lots of grooves in the detailing, and I decided to let the blackness show through without painting first. I LOVE the end result.
To come across the full post, click on How to Distress with Vaseline!
A Crafted Passion also did a gorgeous makeover to her bench using Vaseline!
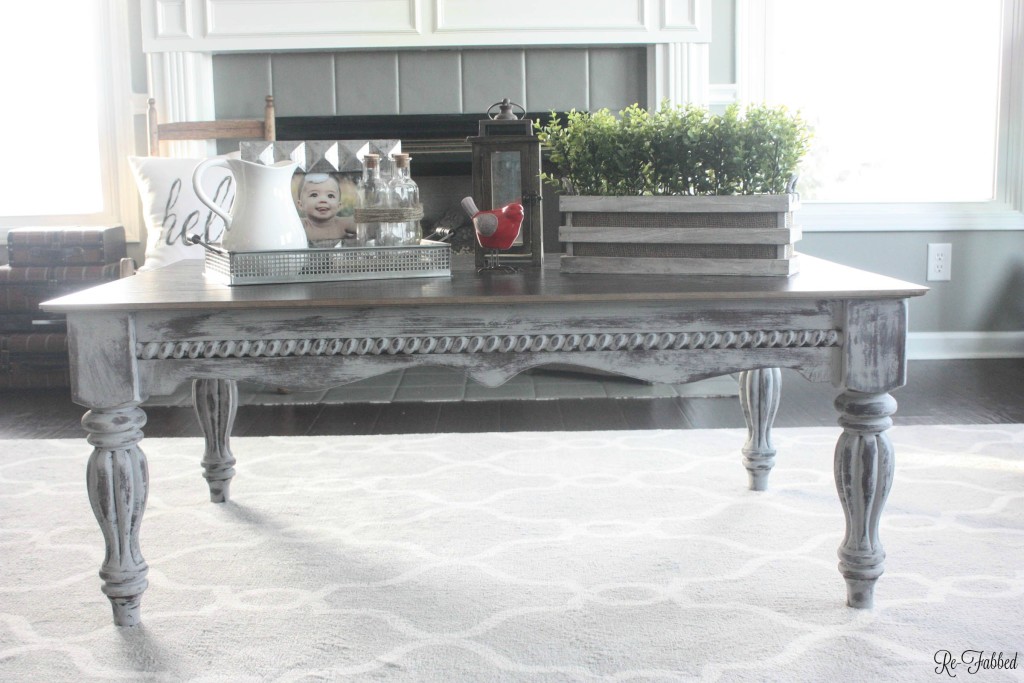
5) Sanding Technique
The most popular technique for pitiful a piece of furniture (or any decor for that matter) is to simply sand the piece. To practise this technique, simply paint your slice in the desired color and then get back with a sanding block or piece of sand paper and sand downwards the edges slightly, to give that weathered look. Easy peasy! Nothing to this technique, actually. If you desire a heavy distress, sand a whole lot, and if y'all want a light distress, just lightly sand the edges. Information technology all depends on how distressed yous want your piece to exist!
This piece was done using the sanding technique and haphazardly painting the start layer. I DID use a clear glaze over this piece in the finish, merely it did not alter the wait at all. You lot would not have to do that if you didn't desire to.
This was a neat makeover using flooring as the meridian to the java table! Get Hither to see full postal service!
Now, there are many different ways to attain the distressed look- and in my stance, at that place is no right or wrong way. I like doing different things to different pieces, and if the finish effect is what I wanted, I am happy. I am not a cookie cutter painter with a ready formula for perfection. I endeavor different things and experiment with dissimilar techniques. Today, I just wanted to showcase some of the techniques that I like and use and how they work.
6) Vinegar Sad
I have non personally tried this technique, just my friend Kristen from Timeless Creations used this vinegar technique on a dresser makeover she did, and it turned out gorgeous! You tin can see her full tutorial HERE!
I hope this postal service helped y'all understand what distressing is and the many means it tin be achieved. I would love to reply any other questions you may take about lamentable, and so feel gratuitous to ask in the comments or e-mail me!
Feel complimentary to Pin this post for after! There is a lot of information to take in!
Follow along past email and never miss a post!

Source: https://www.re-fabbed.com/the-art-of-distressing-furniture/
Posted by: moorefrehe1937.blogspot.com
0 Response to "How To Give Paint A Distressed Look"
Post a Comment